

Validation is an important aspect in ASP.NET MVC applications. It is used to check whether the user input is valid. ASP.NET MVC provides a set of validation that is easy-to-use and at the same time, it is also a powerful way to check for errors and, if necessary, display messages to the user.
DRY
DRY stands for Don’t Repeat Yourself and is one of the core design principles of ASP.NET MVC. From the development point of view, it is encouraged to specify functionality or behavior only at one place and then it is used in the entire application from that one place.
This reduces the amount of code you need to write and makes the code you do write less error prone and easier to maintain.
Adding Validation to Model
Let’s take a look at a simple example of validation in our project from the last chapter. In this example, we will add data annotations to our model class, which provides some builtin set of validation attributes that can be applied to any model class or property directly in your application, such as Required, StringLength, RegularExpression, and Range validation attributes.
It also contains formatting attributes like DataType that help with formatting and don’t provide any validation. The validation attributes specify behavior that you want to enforce on the model properties they are applied to.
The Required and MinimumLength attributes indicates that a property must have a value; but nothing prevents a user from entering white space to satisfy this validation. The RegularExpression attribute is used to limit what characters can be input.
Let’s update Employee class by adding different annotation attributes as shown in the following code.
using System;
using System.ComponentModel.DataAnnotations;
using System.Data.Entity;

namespace MVCSimpleApp.Models {
   public class Employee{
      public int ID { get; set; }
      [StringLength(60, MinimumLength = 3)]

      public string Name { get; set; }
      [Display(Name = "Joining Date")]
      [DataType(DataType.Date)]
      [DisplayFormat(DataFormatString = "{0:yyyy-MM-dd}",

      ApplyFormatInEditMode = true)]
      public DateTime JoiningDate { get; set; }
      [Range(22, 60)]
      public int Age { get; set; }
   }
}
Now we also need to set limits to the database. However, the database in SQL Server Object Explorer shows the name property is set to NVARCHAR (MAX) as seen in the following screenshot.
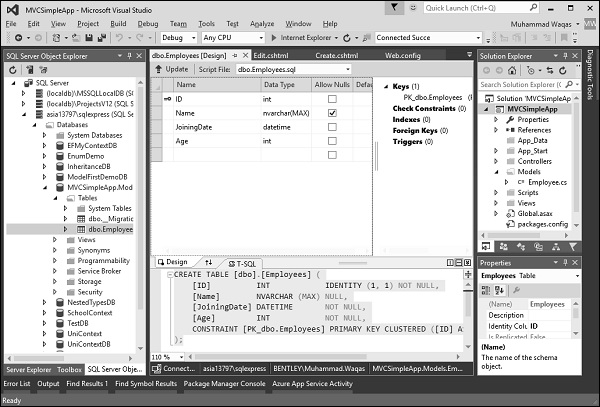
To set this limitation on the database, we will use migrations to update the schema.
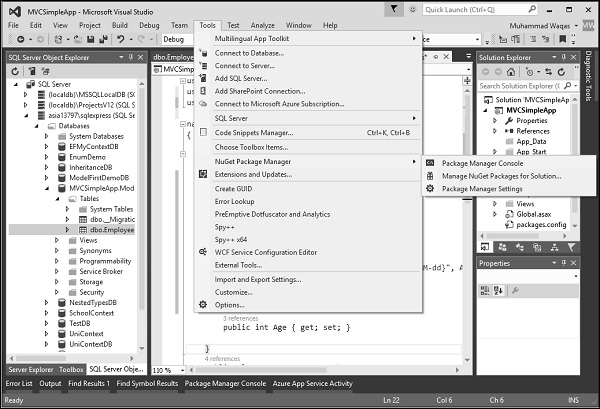
Open the Package Manager Console window from Tools → NuGet Package Manager → Package Manager Console.
Enter the following commands one by one in the Package Manager Console window.
Enable-Migrations
add-migration DataAnnotations
update-database
Following is the log after executing these commands in Package Manager Console window.
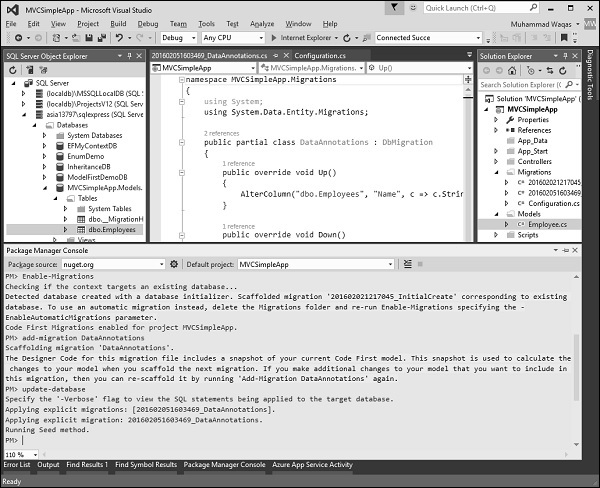
Visual Studio will also open the class which is derived from the DbMIgration class in which you can see the code that updates the schema constraints in Up method.
namespace MVCSimpleApp.Migrations {
   using System;
   using System.Data.Entity.Migrations;

   public partial class DataAnnotations : DbMigration{
      public override void Up(){
         AlterColumn("dbo.Employees", "Name", c => c.String(maxLength: 60));
      }

      public override void Down(){
         AlterColumn("dbo.Employees", "Name", c => c.String());
      }
   }
}
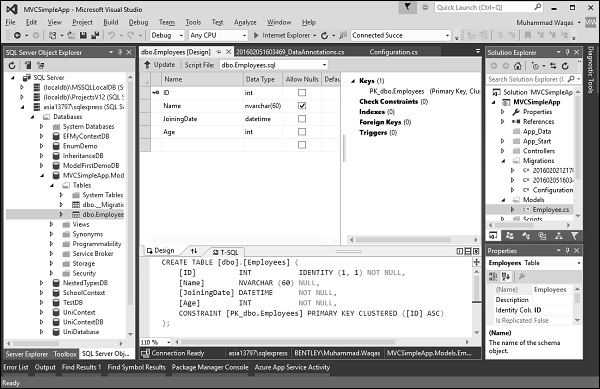
The Name field has a maximum length of 60, which is the new length limits in the database as shown in the following snapshot.
Run this application and go to Create view by specifying the following URL http://localhost:63004/Employees/Create

Let’s enter some invalid data in these fields and click Create Button as shown in the following screenshot.
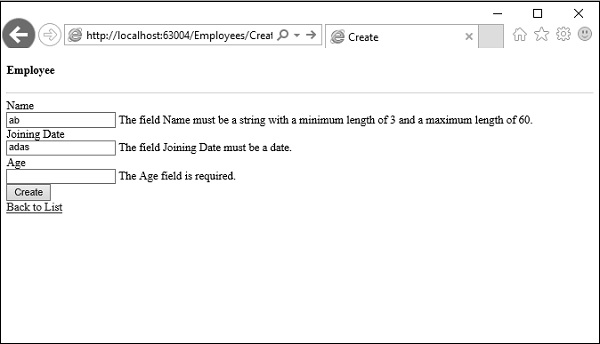
You will see that jQuery client side validation detects the error, and it also displays an error message.