ASP.NET MVC Databases (Entity Framework)
In all ASP.NET MVC applications created in this tutorial we have been passing hard-coded data from the Controllers to the View templates. But, in order to build a real Web application, you might want to use a real database. In this chapter, we will see how to use a database engine in order to store and retrieve the data needed for your application.
To store and retrieve data, we will use a .NET Framework data-access technology known as the Entity Framework to define and work with Models.
The Entity Framework (EF) supports Code First technique, which allows you to create model objects by writing simple classes and then the database will be created on the fly from your classes, which enables a very clean and rapid development workflow.
Let’s take a look at a simple example in which we will add support for Entity framework in our example.
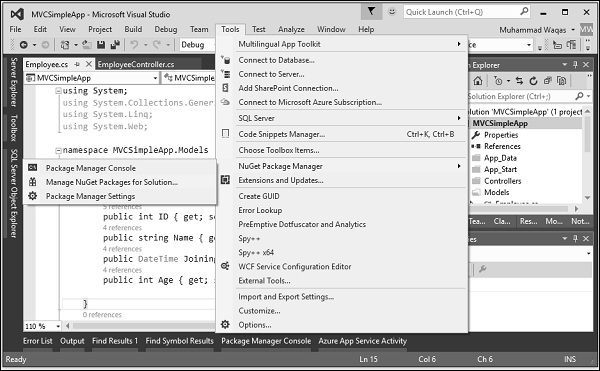
Step 1 − To install the Entity Framework, right-click on your project and select NuGet Package Manager → Manage NuGet Packages for Solution…
It will open the NuGet Package Manager. Search for Entity framework in the search box.
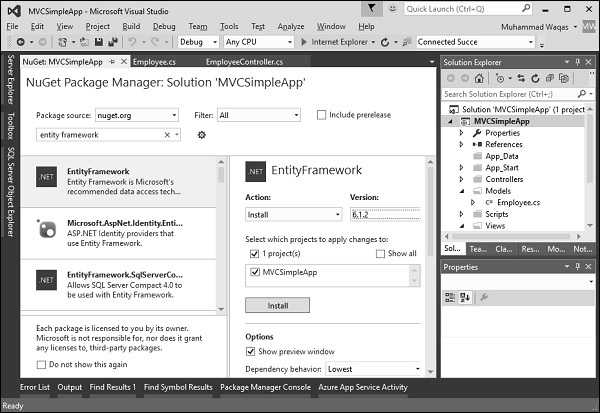
Select the Entity Framework and click ‘Install’ button. It will open the Preview dialog.
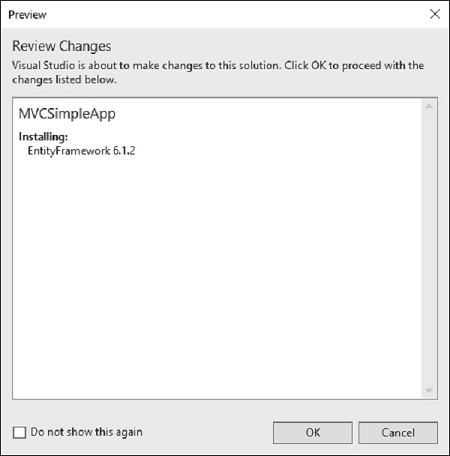
Click Ok to continue.
Click the ‘I Accept’ button to start installation.
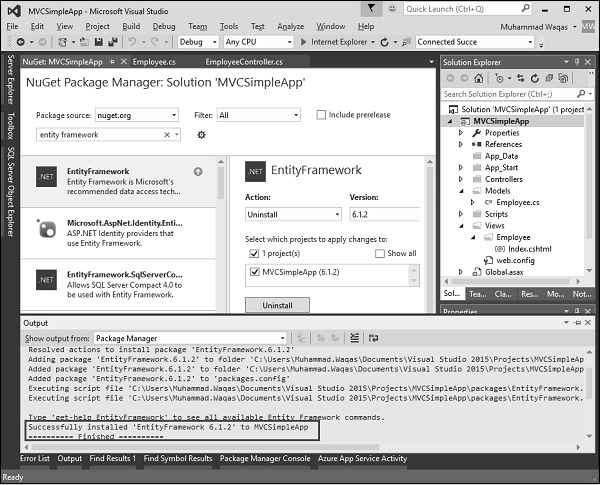
Once the Entity Framework is installed you will see the message in out window as seen in the above screenshot.
Add DBContext
We need to add another class to the Employee Model, which will communicate with Entity Framework to retrieve and save the data using the following code.
using System;
using System.Collections.Generic;
using System.Data.Entity;
using System.Linq;

using System.Web;

namespace MVCSimpleApp.Models{
   public class Employee{
      public int ID { get; set; }
      public string Name { get; set; }
      public DateTime JoiningDate { get; set; }
      public int Age { get; set; }
   }

   public class EmpDBContext : DbContext{
      public EmpDBContext()
      { }
      public DbSet<Employee> Employees { get; set; }
   }
}
As seen above, EmpDBContext is derived from an EF class known as DbContext. In this class, we have one property with the name DbSet, which basically represents the entity you want to query and save.
Connection String
We need to specify the connection string under <configuration> tag for our database in the Web.config file.
<connectionStrings>
   <add name = "EmpDBContext" connectionString = "Data
   Source = (LocalDb)\v14.0;AttachDbFilename = |DataDirectory|\EmpDB.mdf;Initial
   Catalog = EmployeeDB;Integrated Security = SSPI;"
   providerName = "System.Data.SqlClient"/>
</connectionStrings>
You don’t actually need to add the EmpDBContext connection string. If you don’t specify a connection string, Entity Framework will create localDB database in the user’s directory with the fully qualified name of the DbContext class. For this demo, we will not add the connection string to make things simple.
Now we need to update the EmployeeController.cs file so that we can actually save and retrieve data from the database instead of using hardcoded data.
First we add create a private EmpDBContext class object and then update the Index, Create and Edit action methods as shown in the following code.
using MVCSimpleApp.Models;
using System.Linq;
using System.Web.Mvc;

namespace MVCSimpleApp.Controllers {
   public class EmployeeController : Controller{
      private EmpDBContext db = new EmpDBContext();
      // GET: Employee

      public ActionResult Index(){
         var employees = from e in db.Employees
         orderby e.ID
         select e;
         return View(employees);
      }

      // GET: Employee/Create
      public ActionResult Create(){
         return View();
      }

      // POST: Employee/Create
      [HttpPost]
      public ActionResult Create(Employee emp){
         try{
            db.Employees.Add(emp);
            db.SaveChanges();
            return RedirectToAction("Index");
         }catch{
            return View();
         }
      }

      // GET: Employee/Edit/5
      public ActionResult Edit(int id){
         var employee = db.Employees.Single(m => m.ID == id);
         return View(employee);
      }

      // POST: Employee/Edit/5
      [HttpPost]
      public ActionResult Edit(int id, FormCollection collection){
         try{
            var employee = db.Employees.Single(m => m.ID == id);
            if (TryUpdateModel(employee)){
               //To Do:- database code
               db.SaveChanges();
               return RedirectToAction("Index");
            }
            return View(employee);
         }catch{
            return View();
         }
      }
   }
}
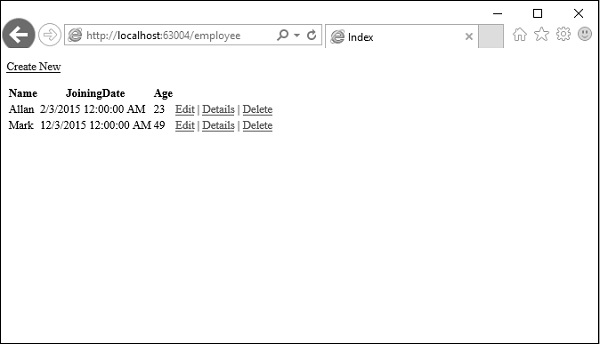
Then we run this application with the following URL http://localhost:63004/Employee. You will see the following output.
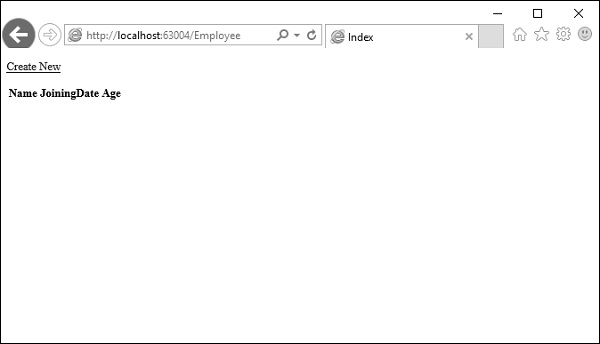
As you can see that there is no data on the view, this is because we have not added any records in our database, which is created by Visual Studio.
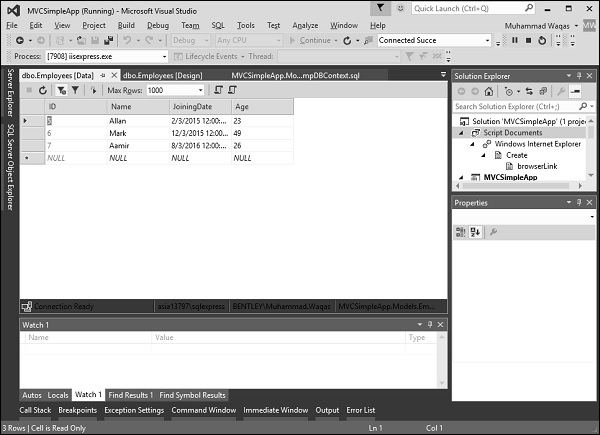
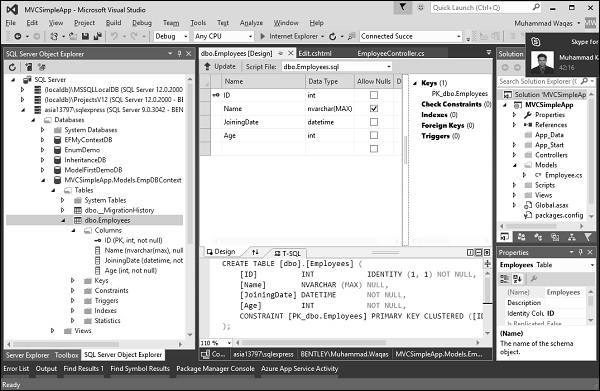
Let’s go to the SQL Server Object Explorer, you will see the database is created with the same name as we have in our DBContext class.
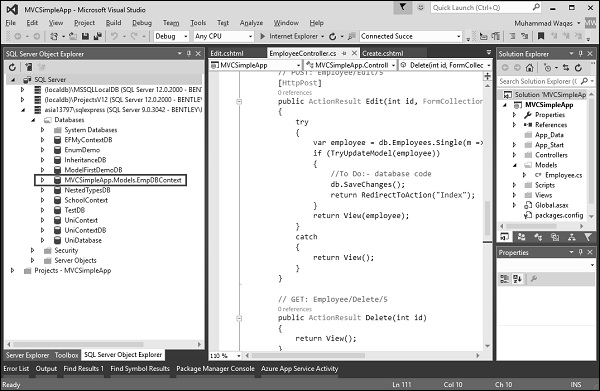
Let’s expand this database and you will see that it has one table which contains all the fields we have in our Employee model class.
To see the data in this table, right-click on the Employees table and select View Data.
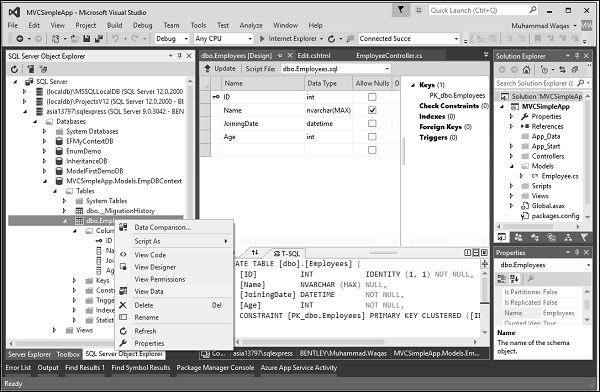
You will see that we have no records at the moment.
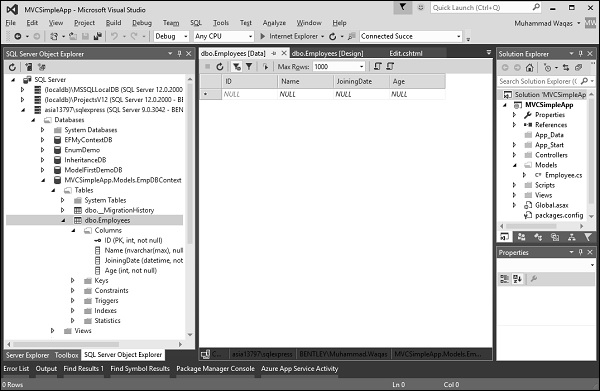
Let’s add some records in the database directly as shown in the following screenshot.

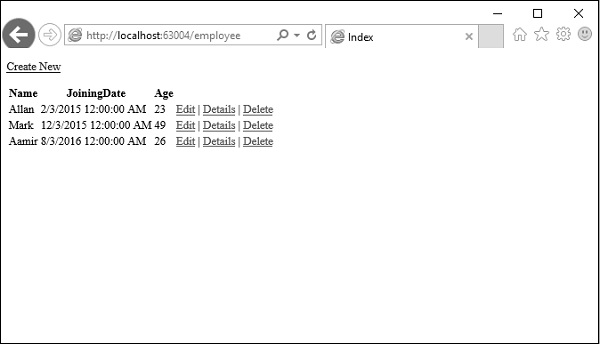
Refresh the browser and you will see that data is now updated to the view from the database.
Let’s add one record from the browser by clicking the ‘Create New’ link. It will display the Create view.
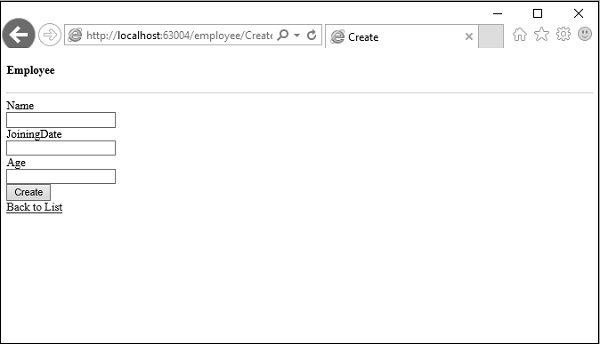
Let’s add some data in the following field.
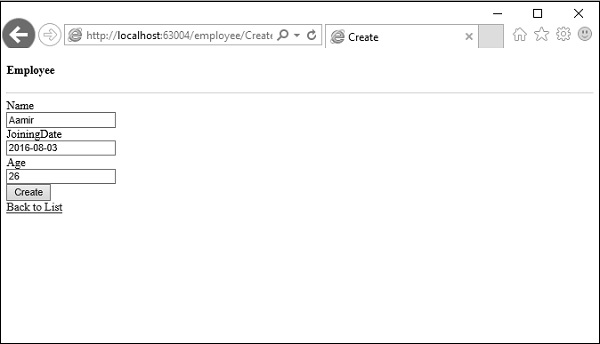
Click on the Create button and it will update the Index view as well add this new record to the database.
Now let’s go the SQL Server Object Explorer and refresh the database. Right-click on the Employees table and select the View data menu option. You will see that the record is added in the database.