

In ASP.NET MVC, controllers define action methods that usually have a one-to-one relationship with possible user interactions, but sometimes you want to perform logic either before an action method is called or after an action method runs.
To support this, ASP.NET MVC provides filters. Filters are custom classes that provide both a declarative and programmatic means to add pre-action and post-action behavior to controller action methods.
Action Filters
An action filter is an attribute that you can apply to a controller action or an entire controller that modifies the way in which the action is executed. The ASP.NET MVC framework includes several action filters −
- OutputCache − Caches the output of a controller action for a specified amount of
time. - HandleError − Handles errors raised when a controller action is executed.
- Authorize − Enables you to restrict access to a particular user or role.
Types of Filters
The ASP.NET MVC framework supports four different types of filters −
- Authorization Filters − Implements the IAuthorizationFilter attribute.
- Action Filters − Implements the IActionFilter attribute.
- Result Filters − Implements the IResultFilter attribute.
- Exception Filters − Implements the IExceptionFilter attribute.
Filters are executed in the order listed above. For example, authorization filters are always executed before action filters and exception filters are always executed after every other type of filter.
Authorization filters are used to implement authentication and authorization for controller actions. For example, the Authorize filter is an example of an Authorization filter.
Let’s take a look at a simple example by creating a new ASP.Net MVC project.
Step 1 − Open the Visual Studio and click File → New → Project menu option.
A new Project dialog opens.
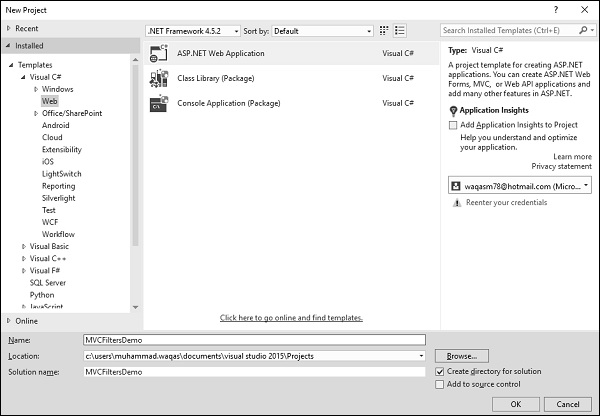
Step 2 − From the left pane, select Templates → Visual C# → Web.
Step 3 − In the middle pane, select ASP.NET Web Application.
Step 4 − Enter project name MVCFiltersDemo in the Name field and click ok to continue and you will see the following dialog which asks you to set the initial content for the ASP.NET project.
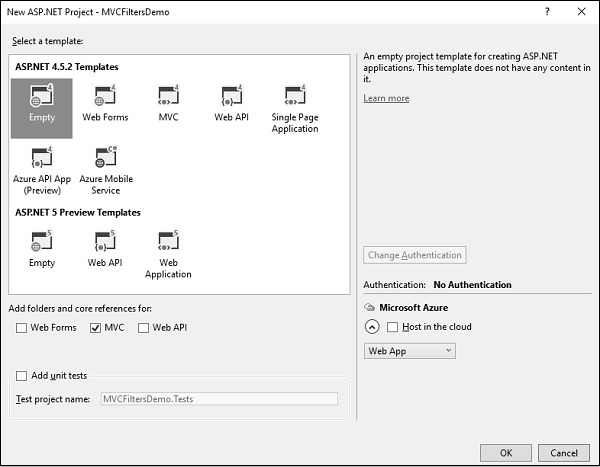
Step 5 − To keep things simple, select the Empty option and check the MVC checkbox in the ‘Add folders and core references for’ section and click Ok.
It will create a basic MVC project with minimal predefined content.
Step 6 − To add a controller, right-click on the controller folder in the solution explorer and select Add → Controller.
It will display the Add Scaffold dialog.
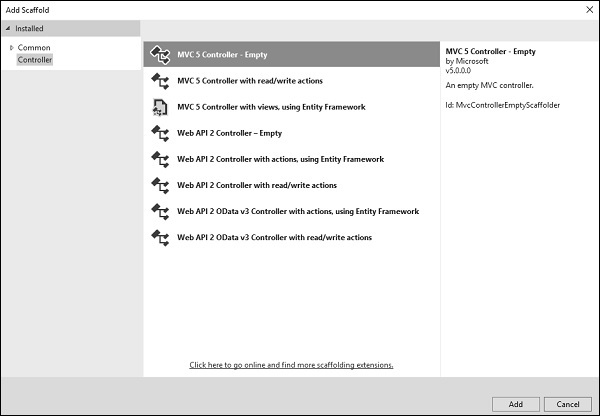
Step 7 − Select the MVC 5 Controller – Empty option and click ‘Add’ button.
The Add Controller dialog will appear.
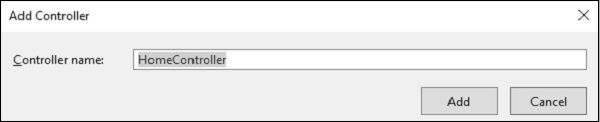
Step 8 − Set the name to HomeController and click ‘Add’ button.
You will see a new C# file ‘HomeController.cs’ in the Controllers folder, which is open for editing in Visual Studio as well.
Apply Action Filter
An action filter can be applied to either an individual controller action or an entire controller. For example, an action filter OutputCache is applied to an action named Index() that returns the string. This filter causes the value returned by the action to be cached for 15 seconds.
To make this a working example, let’s modify the controller class by changing the action method called Index using the following code.
using System;
using System.Collections.Generic;
using System.Linq;
using System.Web;
using System.Web.Mvc;
namespace MVCFiltersDemo.Controllers {
public class HomeController : Controller{
// GET: Home
[OutputCache(Duration = 15)]
public string Index(){
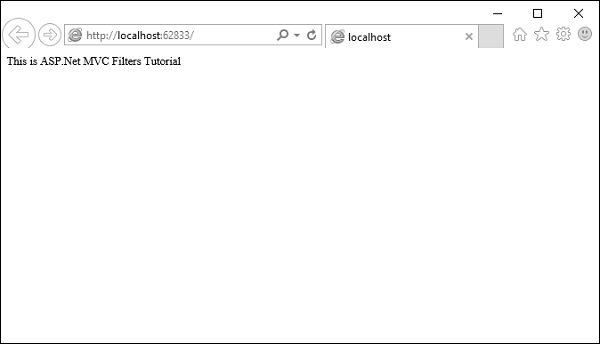
return "This is ASP.Net MVC Filters Tutorial";
}
}
}
When you run this application, you will see that the browser is displaying the result of the Index action method.
Let’s add another action method, which will display the current time.
namespace MVCFiltersDemo.Controllers{
   public class HomeController : Controller{
      // GET: Home

      [OutputCache(Duration = 15)]
      public string Index(){
         return "This is ASP.Net MVC Filters Tutorial";
      }

      [OutputCache(Duration = 20)]
      public string GetCurrentTime(){
         return DateTime.Now.ToString("T");
      }
   }
}
Request for the following URL, http://localhost:62833/Home/GetCurrentTime, and you will receive the following output.
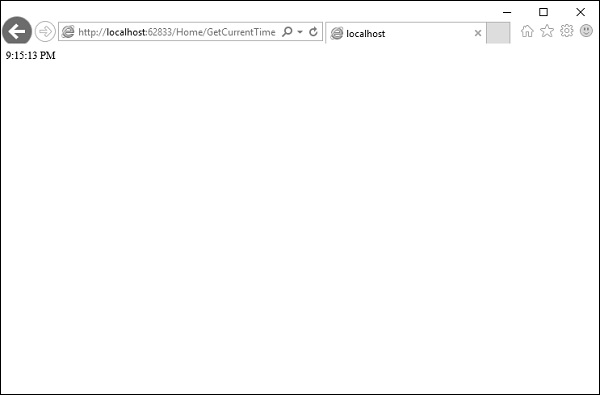
If you refresh the browser, you will see the same time because the action is cached for 20 seconds. It will be updated when you refresh it after 20 seconds.
Custom Filters
To create your own custom filter, ASP.NET MVC framework provides a base class which is known as ActionFilterAttribute. This class implements both IActionFilter and IResultFilter interfaces and both are derived from the Filter class.
Let’s take a look at a simple example of custom filter by creating a new folder in your project with ActionFilters. Add one class for which right-click on ActionFilters folder and select Add → Class.
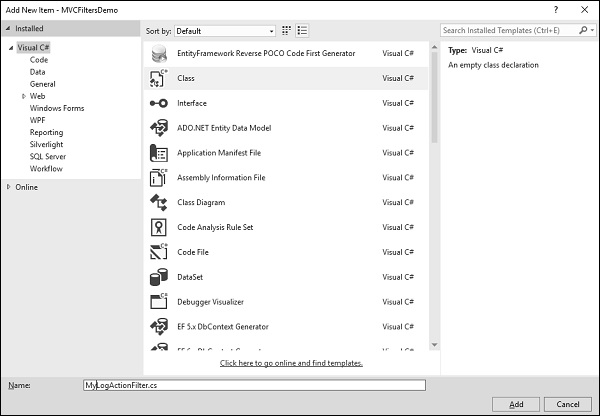
Enter ‘MyLogActionFilter’ in the name field and click ‘Add’ button.
This class will be derived from the ActionFilterAttribute, which is a base class and overrides the following method. Following is the complete implementation of MyLogActionFilter.
using System;
using System.Collections.Generic;
using System.Diagnostics;
using System.Linq;

using System.Web;
using System.Web.Mvc;
using System.Web.Routing;

namespace MVCFiltersDemo.ActionFilters {
   public class MyLogActionFilter : ActionFilterAttribute{
      public override void OnActionExecuting(ActionExecutingContext filterContext){
         Log("OnActionExecuting", filterContext.RouteData);
      }

      public override void OnActionExecuted(ActionExecutedContext filterContext){
         Log("OnActionExecuted", filterContext.RouteData);
      }

      public override void OnResultExecuting(ResultExecutingContext filterContext){
         Log("OnResultExecuting", filterContext.RouteData);
      }

      public override void OnResultExecuted(ResultExecutedContext filterContext){
         Log("OnResultExecuted", filterContext.RouteData);
      }

      private void Log(string methodName, RouteData routeData){
         var controllerName = routeData.Values["controller"];
         var actionName = routeData.Values["action"];

         var message = String.Format(
            "{0} controller:{1} action:{2}", methodName, controllerName, actionName);

         Debug.WriteLine(message, "Action Filter Log");
      }
   }
}
Let us now apply the log filter to the HomeController using the following code.
using MVCFiltersDemo.ActionFilters;
using System;
using System.Collections.Generic;
using System.Linq;

using System.Web;
using System.Web.Mvc;

namespace MVCFiltersDemo.Controllers {
   [MyLogActionFilter]
   public class HomeController : Controller{
      // GET: Home

      [OutputCache(Duration = 10)]
      public string Index(){
         return "This is ASP.Net MVC Filters Tutorial";
      }

      [OutputCache(Duration = 10)]
      public string GetCurrentTime(){
         return DateTime.Now.ToString("T");
      }
   }
}
Run the application and then observe the output window.
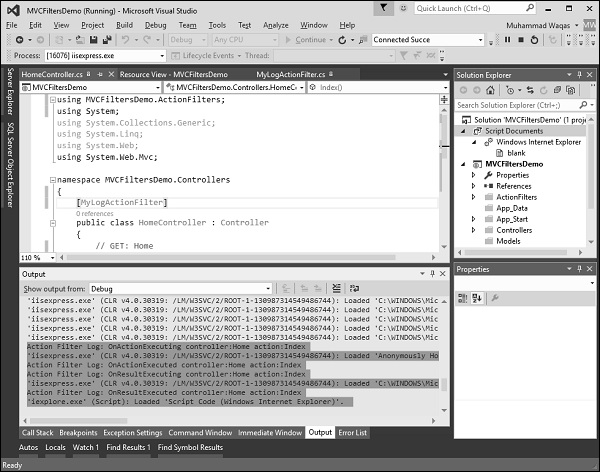
As seen in the above screenshot, the stages of processing the action are logged to the Visual Studio output window.